Click the subject below to go directly to specific instructions:
How to add your images:
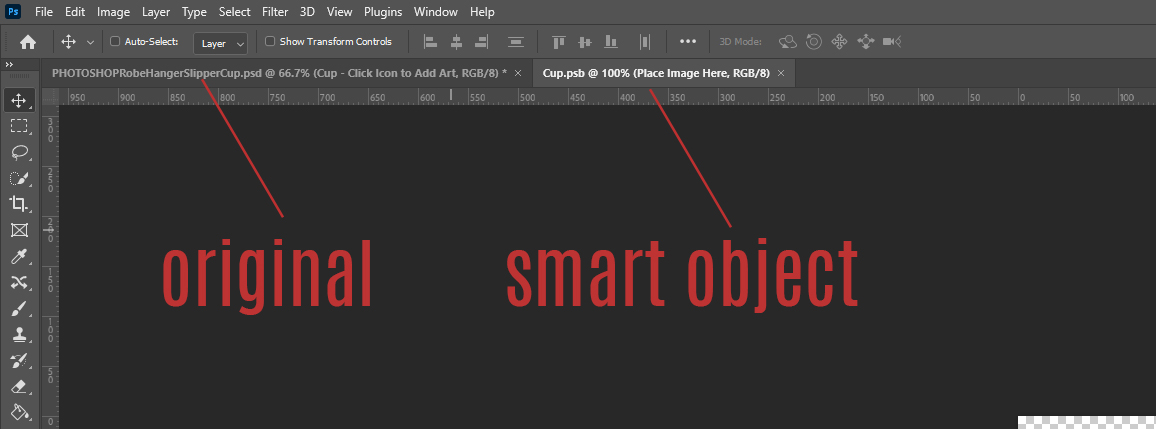
Step 1: Start by making sure that you have the Photoshop version of the file open. The file name should start with “PHOTOSHOP”.
Step 2: Locate the red highlighted layer that says “click icon to add art”.
![]()
Tip – If you don’t see a red “click icon to add art” layer immediately, check to see if there are layer folders. If there are, you may need to expand the layer folder by clicking the arrow to the left of the folder icon. These are folders just like on your computer that hold all of the layers that make up each item in the mockup.

Layers with Red are going to be your smart object layers, while green layers indicate you can change the color in the image. Each layer is clearly labeled so you know what each one is for.
If you still don’t see the red highlighted layer, you may have the wrong file version open. Double check you have the Photoshop version open.
Step 3: Once you have located the red layer, double click on the icon area to bring up the smart object.

Step 4: When you double click the icon, you should have a new window pop up for the smart object. This is where you place your image.
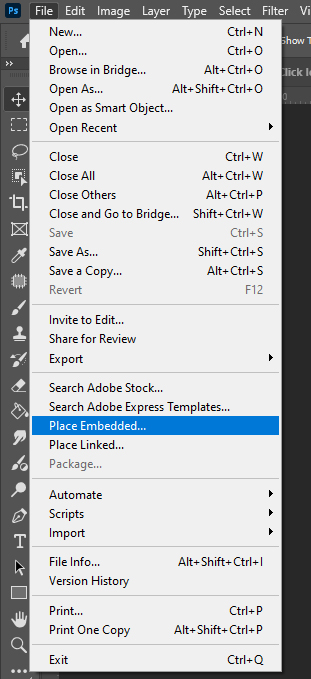
The easiest method to place your image is to go to File > Place embedded.
Step 5: After you select and place your image, resize as needed and hit Enter on your keyboard to place.
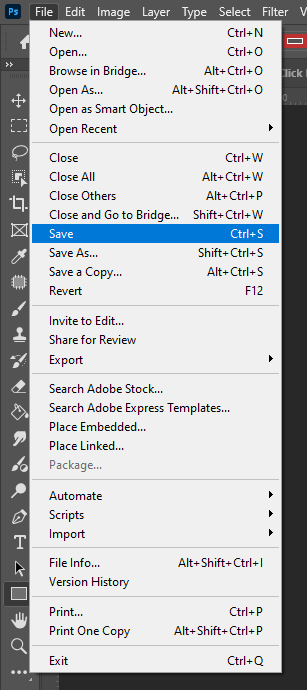
Step 6: Once your image is placed how you want it, go to File > Save. Do not change the file name or location, just a simple save.
Step 7: Click back to the main mockup file and you should see your image placed in.
How to change colors (hue/saturation):
Tip – In many cases, the color change layers will be turned off by default. Make sure to click the little eye icon next to the layer to turn it on if it isn’t on already.
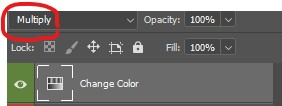
Step 1: Locate the green highlighted layer. If you see an adjustment icon on this layer as shown below, then the steps below are how you change the color. If you do not see this icon, skip to the section below for the other methods of changing the color.
![]()
Step 2: When you select the green layer, you should see a hue/saturation box show up under the properties panel. If you do not see the adjustment layer, go to window > properties to bring it up.
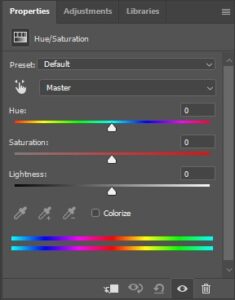
Step 3: Move the sliders around to achieve your desired color. Hue will change the overall color. Saturation will make the color more/less vibrant. Lightness with make it lighter or darker.
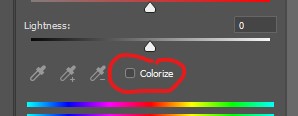
Tip: If you need to achieve a dark grey or black without any color in it, uncheck the “colorize” box so it is turned off.
To make it very dark, change the opacity mode of the hue/saturation adjustment layer to “multiply” or “linear burn”.
How to change colors (fill layer):
Tip – In many cases, the color change layers will be turned off by default. Make sure to click the little eye icon next to the layer to turn it on if it isn’t on already.
Step 1: Locate the green highlighted layer that says, “fill to change color” and select it.
![]()
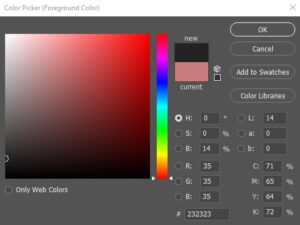
Step 2: Change your foreground color to the color you want to change it to (pink in this example).
![]()
Step 3: Go to the toolbox on the left-hand side of the screen. Locate and select the paint bucket tool.
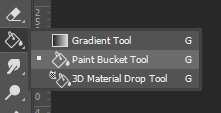
Step 4: With the “fill to change color” layer still selected, click anywhere on the artboard to fill it in with your color.
Tip – Depending on the file and how it is set up, if you are going for a black color, don’t go completely black. Make it just slightly lighter than a pure black:
How to change colors (click to change):
Tip – In many cases, the color change layers will be turned off by default. Make sure to click the little eye icon next to the layer to turn it on if it isn’t on already.
Step 1: Locate the green highlighted layer that says, “click to change color” and double click on the icon. This will bring up the color picker. You can choose your color and click OK.

Tip – Depending on the file and how it is set up, if you are going for a black color, don’t go completely black. Make it just slightly lighter than a pure black:
How to add your own background:
Step 1: Locate the layer at the bottom of the layer list that says “Place your background here” and select it.

Step 2: Go to File > Place embedded. Select the background you want to add and click place. Resize as needed.
Additional Tips and Tricks:
The following are some additional trips and tricks to help work with the files.
Working With Layer Masks:
You may have a file with a layer mask instead of a clipping mask. These are usually used for the clear glass or acrylic products. They are also used with some of the laser etched products (click here for the metal laser tutorial). A layer mask will have an extra icon next to the layer that your image goes into:

Generally, you shouldn’t have to worry about resetting the layer mask, but if you want to move around the layers, the mask will stay in place, so you may have to reset it. In order to re-set, you can right click on the layer mask and then click on “delete layer mask”. I usually keep a layer just below the image area that is called “clipping area”. This will allow you to make a selection and re-create the layer mask.
To make a selection of the layer, right click on the layer’s icon and then click “select pixels”.
![]()
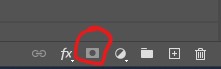
Select the your image’s layer, then click on the layer mask icon at the bottom of the layer list to re-create the layer mask.
Adjusting Smart Object Image Sizes:
If you find that your template images don’t exactly match the dimensions of the smart object, you can make adjustments so the smart object fits your image dimensions.
While inside the smart object, place your image in. If you do File > Place Embedded… it will re-size your image to fit the available space without cutting anything off. In this case, my image is too small on the left to right:
This is an easy fix though. You can take the crop tool and crop out the extra space on the left and right.

Hit enter on your keyboard once you have cropped out the extra area. Save the smart object as usual and when you go back to the main file, the smart object should have updated to the new space.
Duplicating Smart Objects:
Sometimes, you may want to duplicate the product to show a set. This is easy to do, you just need to select all of the layer and make a copy of them. But, when you make a copy of a smart object, it is going to make a new instance of the smart object, which means it will show the same image. If you want to show different images in your set, all you need to do is right click your new smart object then click on “new smart object via copy”. This will make a new instance of the smart object so you can show different images on each copy.