Click the subject below to go directly to specific instructions:
How to add your images:
Make sure you have downloaded the PNG folder from the download list.
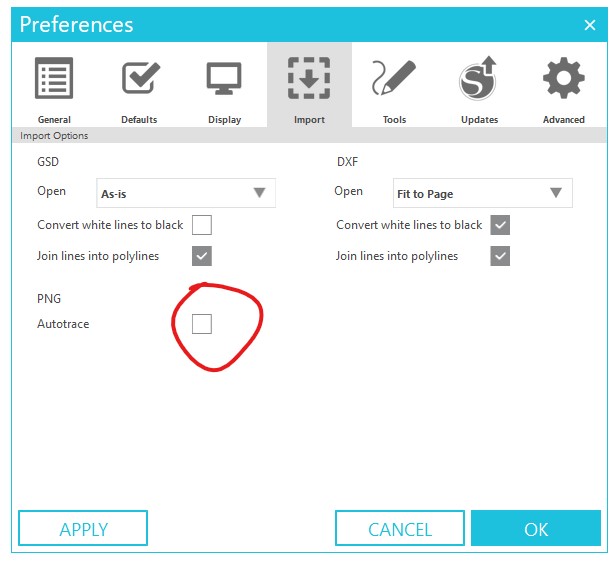
Before loading in the PNG, make sure that you have auto trace turned off. Go to Edit > Preferences. Then click on the “import” tab and uncheck auto trace next to “PNG”
When you open the PNG folder from your download, you may find a number of different files. For the main item, there will usually be 3 different versions of the PNG. Two of them will have the image area cut out of a background (usually white or light grey texured). The other will have the blank item on a transparent background.
The versions with a window cut out of the background will automatically crop your image to the edge of the item. You cannot change the background with this version.
The version without a window will allow you to add your own background, but your image will not clip to the edges. For this type of PNG, you can place your image in above the item. This version is better suited to items that do not need to clip to the edges.
This tutorial will be for the versions with a window. The version without a window you would just load the mockup into studio and then place your image in above the item.
Step 1: Open up one of the PNG files that have a window cut out of the background.

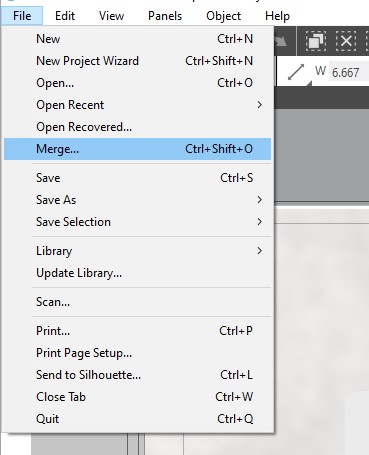
Step 2: To place your image in with it go to file > merge and select your image.
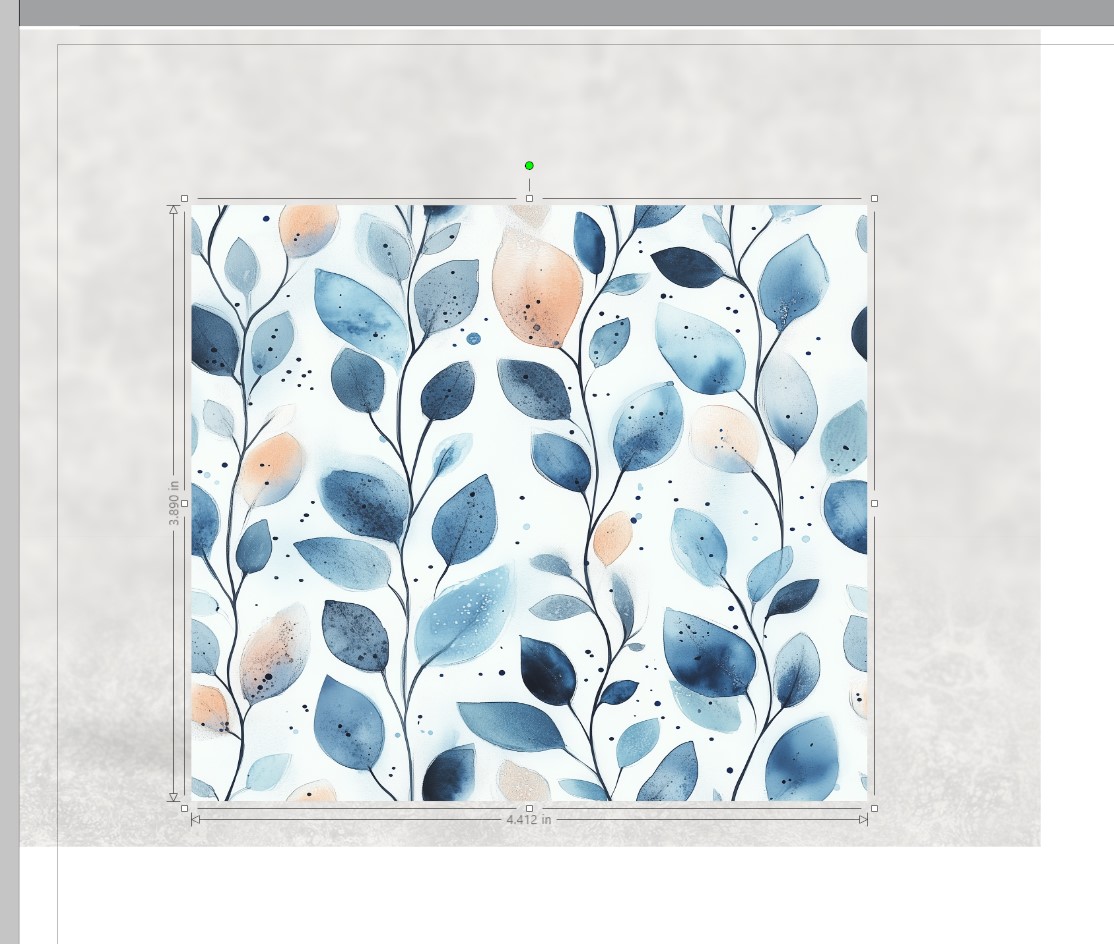
Step 3: Re-size and position as needed so it fills the available space.
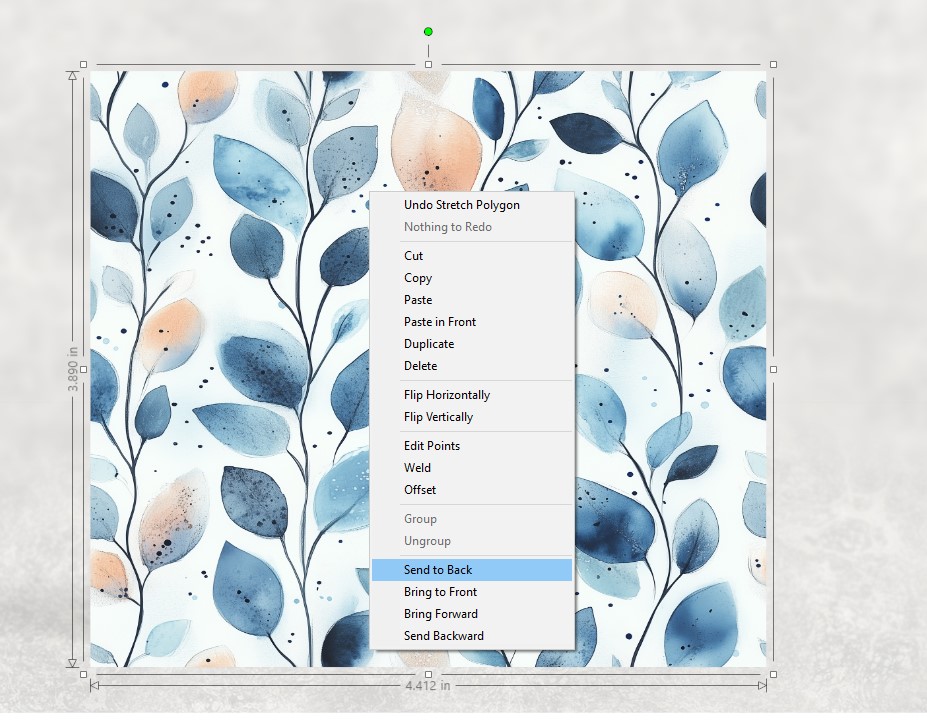
Step 4: Right click your image and then click on “send to back”. That will move the image behind the window.
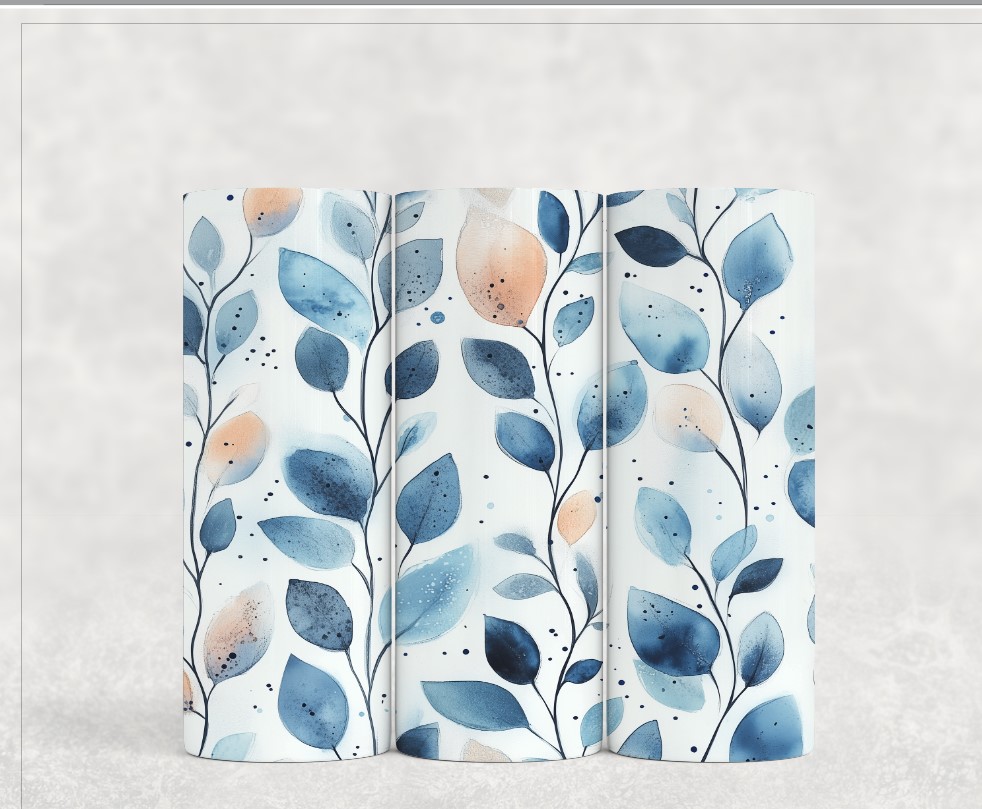
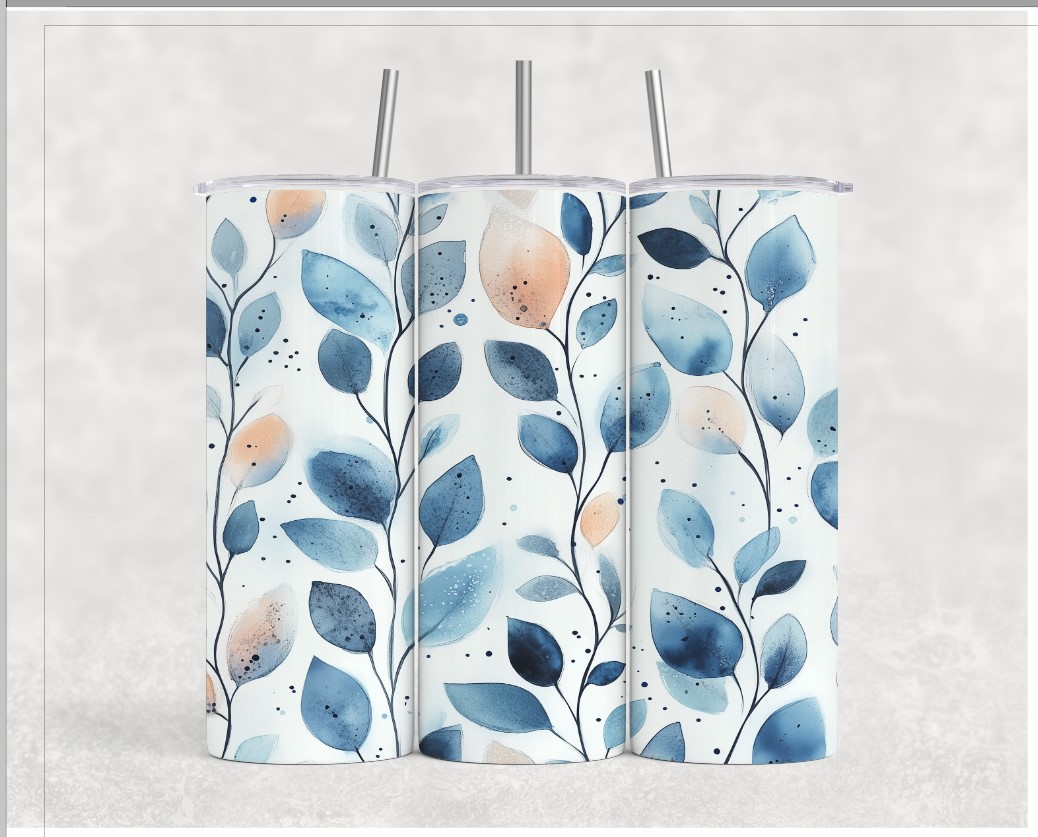
Please note that Studio cannot warp your image to fit the curve of the tumbler.
Step 5: Some files may come with different options (such as additional lids and straws for this tumbler example).
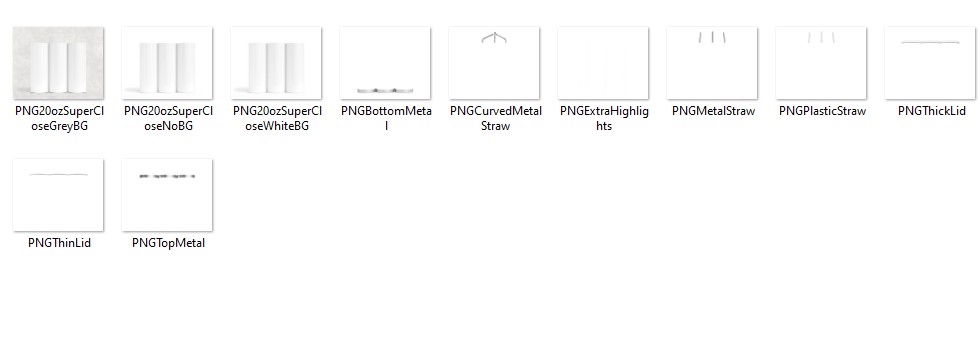
You can do the same file > merge to add these optional PNGs in. As long as you didn’t re-size the main image, the optional files will line up automatically.