Click the subject below to go directly to specific instructions:
Getting Started:
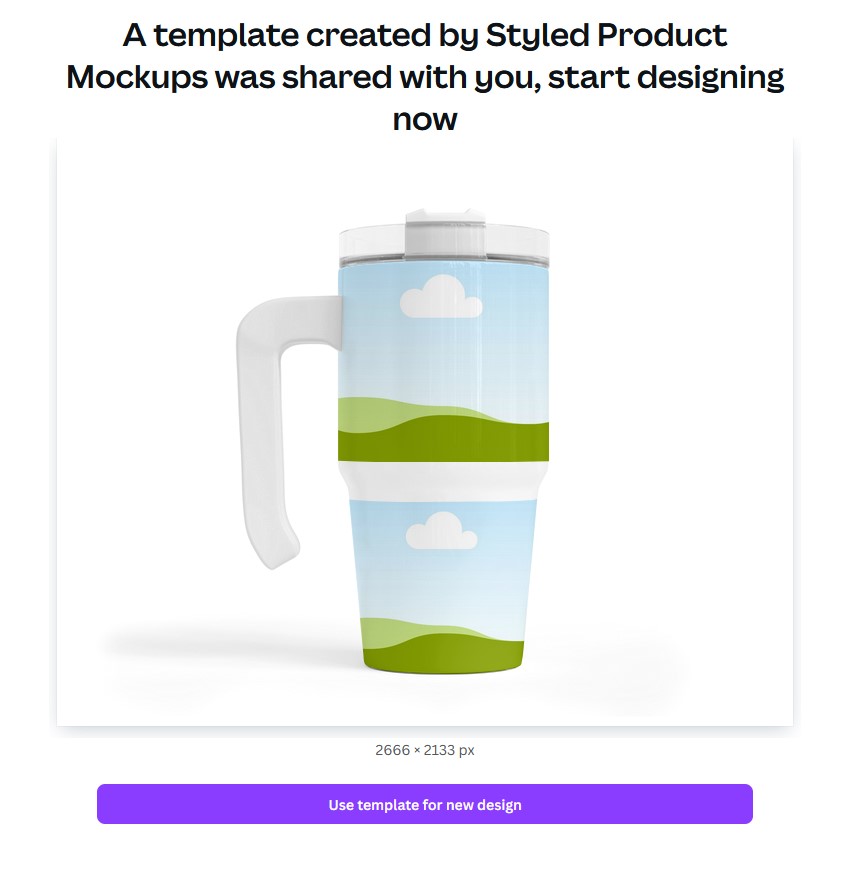
When you download the folder that starts with ‘CANVA’ you will find a PSD file who’s name starts with “CANVATemplate”. When you open this PDF, there will be a link to the template file that should look like the image below:

When you click the “CLICK HERE” link, you will be directed to Canva where you can click the button that says “use template for new design” to start working on the mockup.
How to add your images:
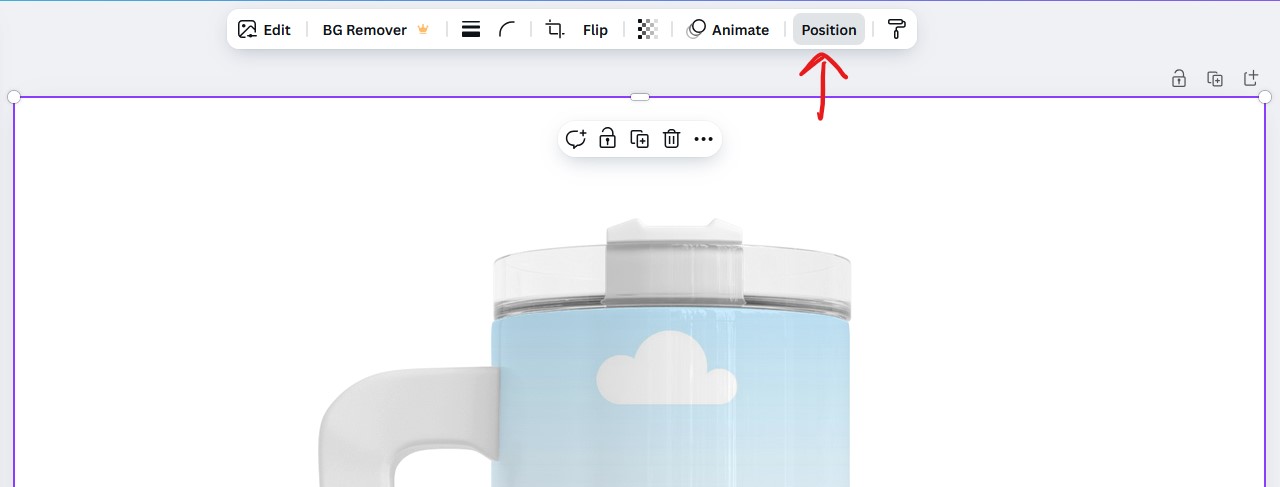
By default, there is going to be shading layers above the image frame. Since Canva frames are not pass through, you will need to re-arrange the layers before you can drag and drop your images in. Click anywhere over the image to bring up the top tool bar.
You will want to click on “position”
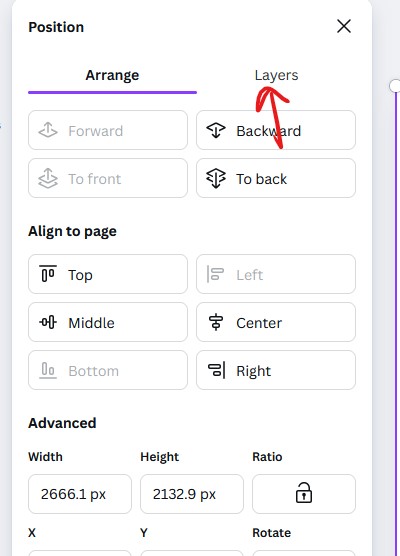
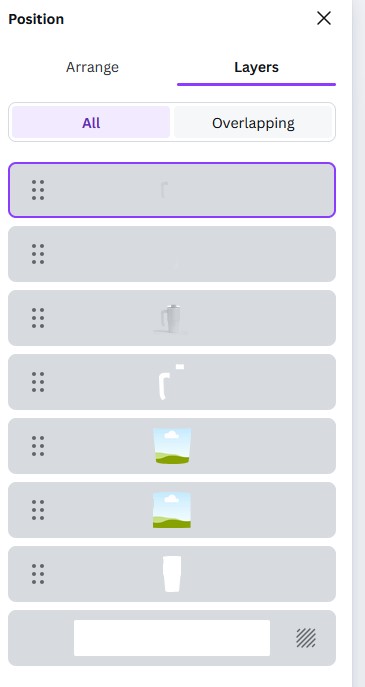
By default this will bring up the “Arrange” menu. You will want to click on “Layers” to bring up the layer menu.
Inside the layers, you will see the image frames. They are the layers with the green grass and blue sky images:
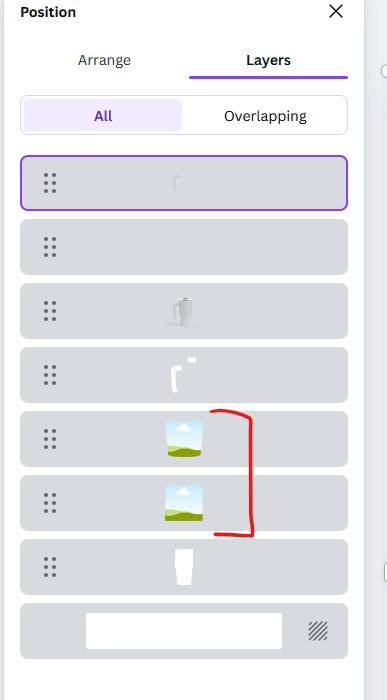
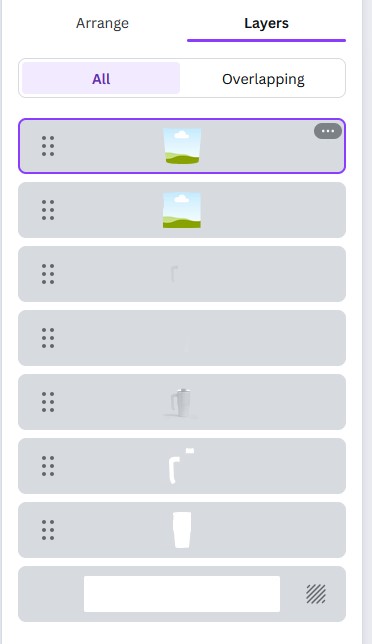
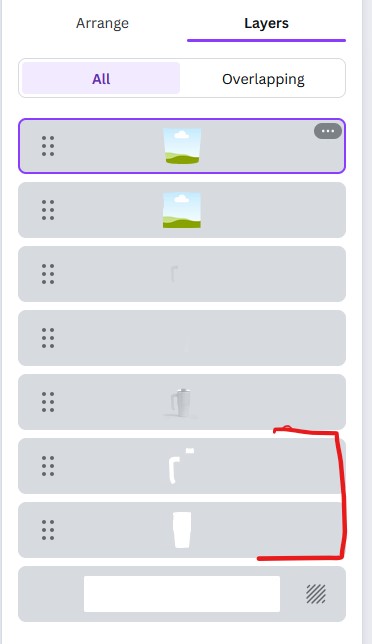
You will want to click and hold these layers and drag them up, so they are the very first layers in the list.
TIP – If you hold down the ctrl key on your keyboard, you can select multiple layers by clicking on each layer one at a time.
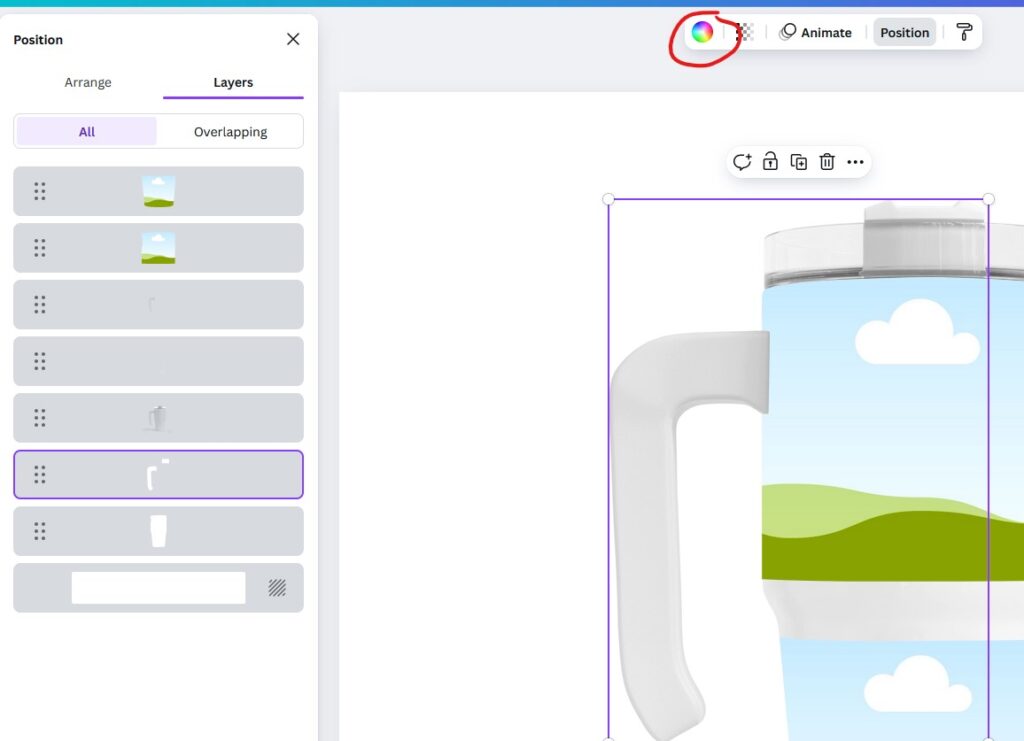
Now, you can upload your images and drag and drop them into the frames from your upload menu.
TIP – When you go to drag and drop, make sure to move your mouse around a little bit if the image doesn’t snap right into the frame.
NOTE – Your images must be saved as a flat JPG, PNG, GIF. The frame will not accept a layered project or other file formats like PDF or SVG.
Once your image is in place, go back into the layer and drag the frame back below the shading layers.
How to change colors:
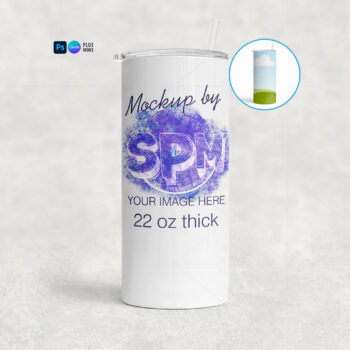
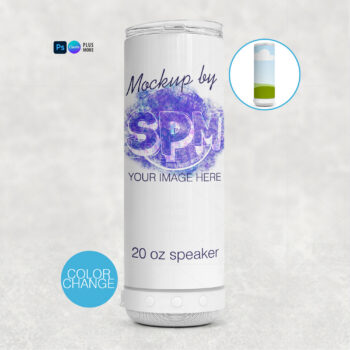
Some files may offer the ability to change the color of certain parts. The description and example images on each product will let you know if you can change the color or not.
For these files, you will see a frame shape in the layer list. They are usually set to white or a solid color.
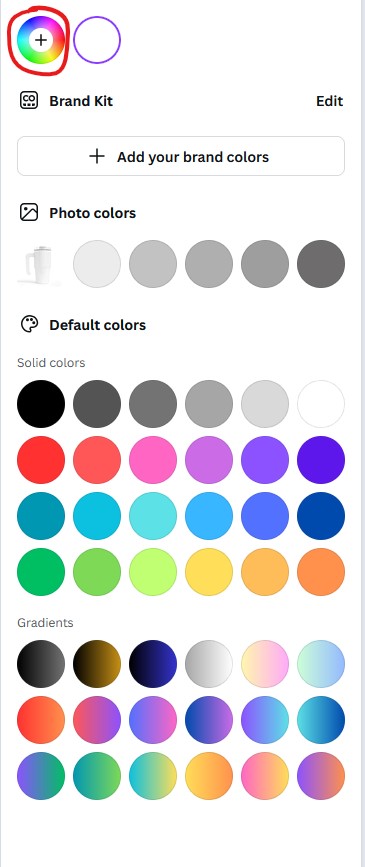
When you select one of these layers, you will see the color button at the top of the screen.
You can choose one of the default colors. Or, clicking on this icon will bring up the color picker.
How to add your own background:
To add your own background, simply click on the background you want to add from your upload folder. Do not drag and drop as it may try to go into the frame. Clicking from the upload panel will place it in. Re-size as needed and then go into the layers to drag it down to the bottom layer.
NOTE – In some situations, some users may have trouble getting the background to place in. If your background is not automatically applying to the project, select all of the layers and then re-size them a little smaller than the full image area.