Click the subject below to go directly to specific instructions:
How to add your images:
Step 1: Start by making sure that you have the Simple PSD version of the download open. The file name should start with “ELEMENTS”.
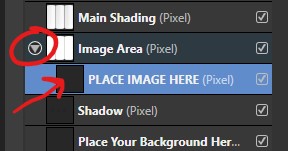
Step 2: To the right of your screen you should see your layers panel. The layer list will look different depending on what file you are editing, but most all of my files will be structured the same. You will be looking for a layer that has an arrow to the left of it. It will usually say “image area” somewhere on the layer.
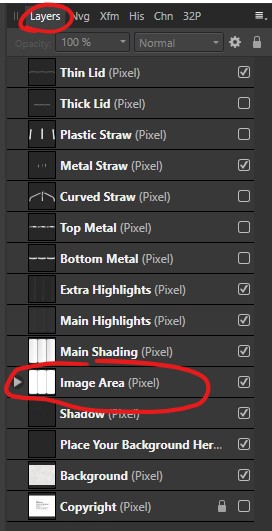
Step 3: Click the arrow to expand and you should see a layer that says “PLACE IMAGE HERE”:
Step 4: Select that layer and go to File > Place and navigate to your image and click on Open.

Step 5: Your mouse cursor will turn into a down facing arrow with a blue circle. Click and hold your mouse button down and then drag your mouse until the image is the size you want it to be. As you drag your mouse, you will see your image with a grey outline. When you are happy with the sizing, release your mouse button to place.
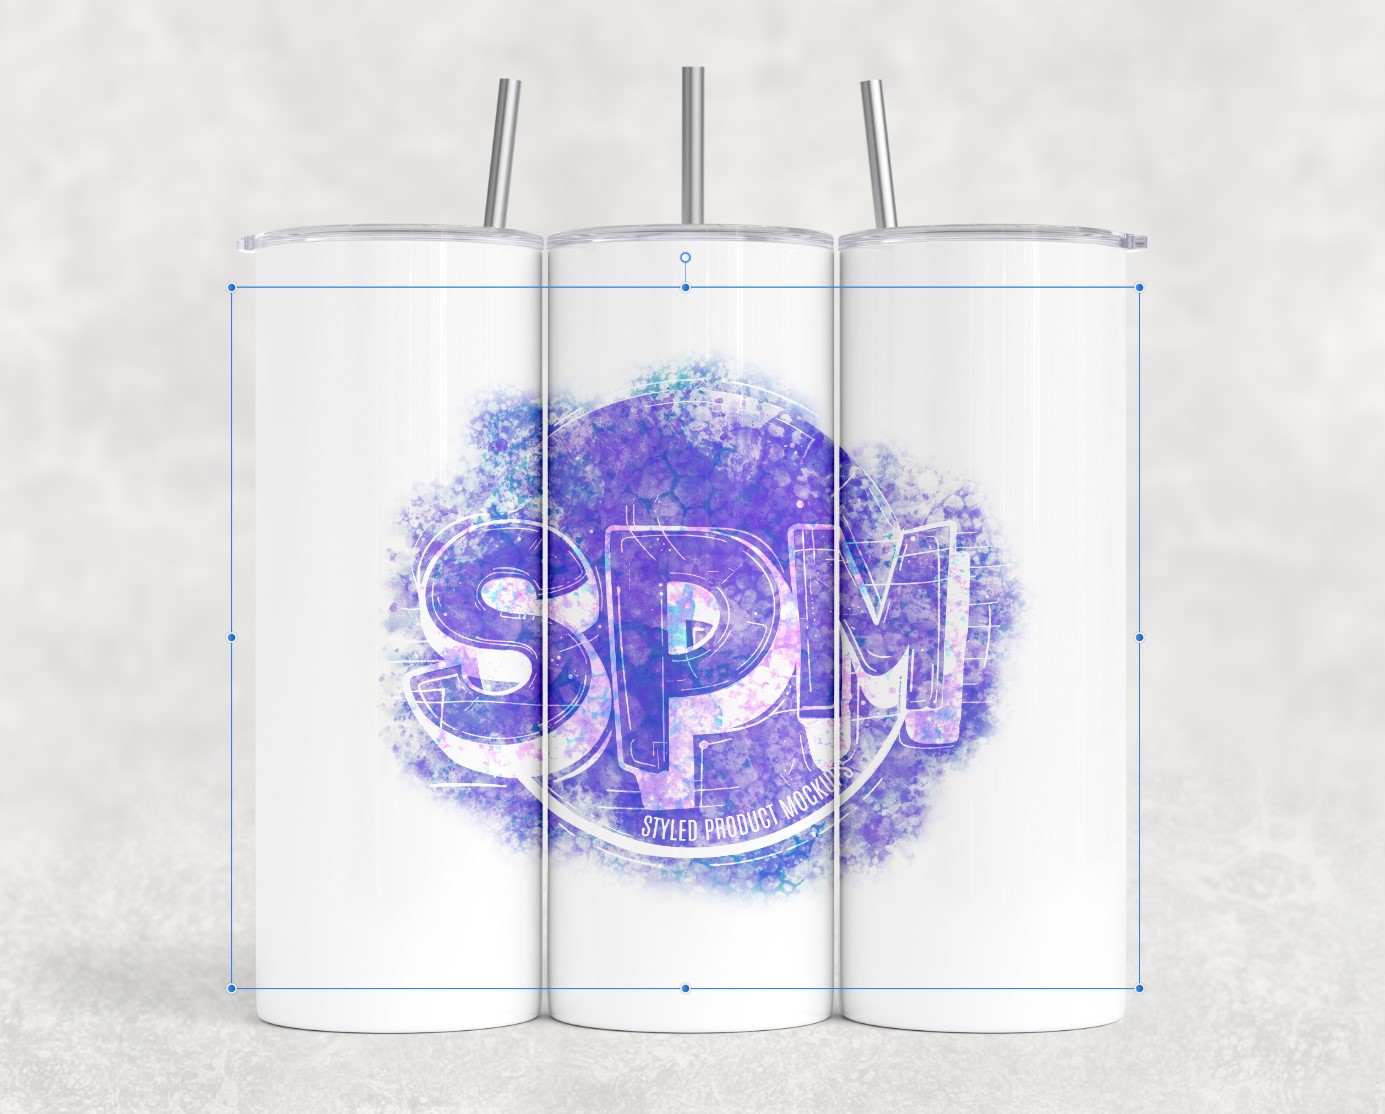
Note: As you move your image, it should be staying inside of the product’s image area. If it is not, then you are placing it into the wrong layer (see above).
Adding an image when there is a clipping mask:
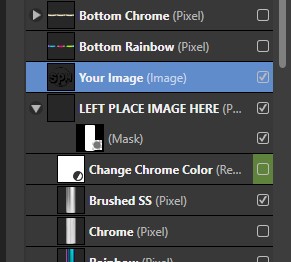
In some files (usually with the transparent glass or laser etched products), the image area will be a clipping mask instead of a raster layer. If this is the case, your image may not place directly into the “place image here” layer. Follow the steps above to file > place your image in.
Make sure your image is directly above the “place image here” layer:
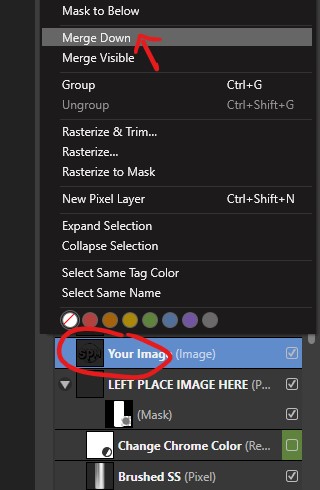
Right click on your image’s layer and then click on “merge down”.
How to curve your image:
For items like drinkware, you may want to curve your image to fit the cup better.
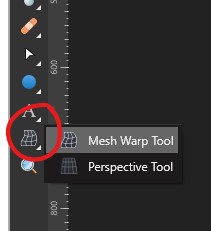
Step 1: After you have your image placed in, select it and then click on the Mesh Warp Tool.
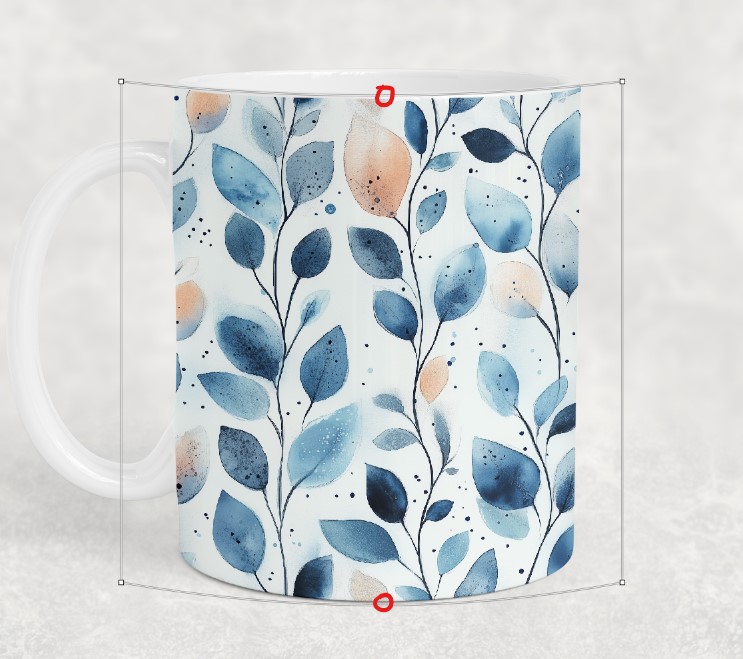
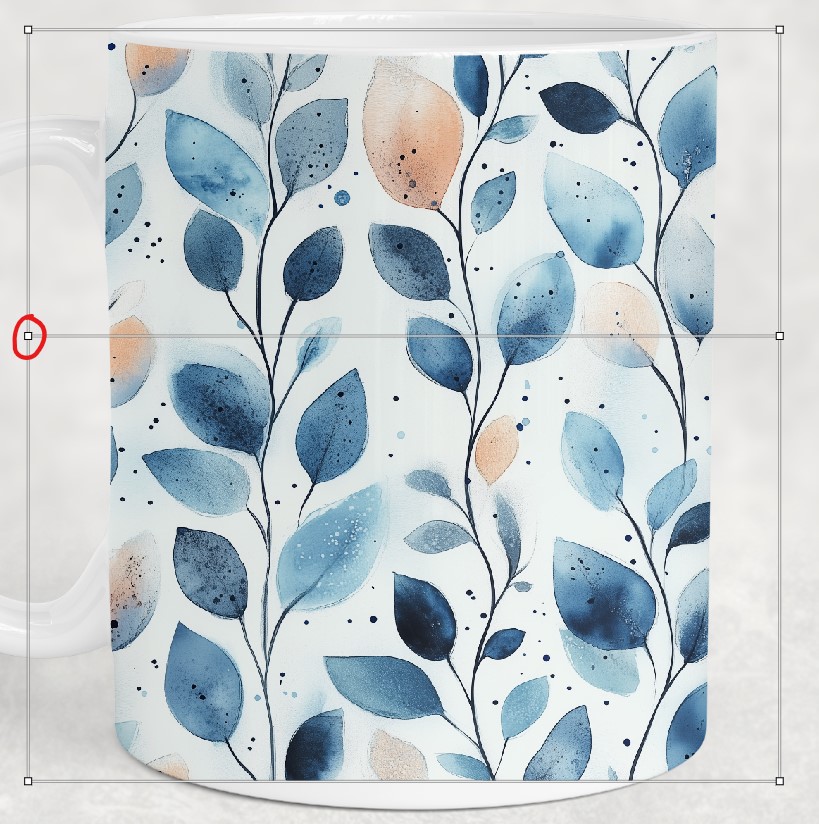
Step 2: This will put a box around your image. From here, you can click and drag in the middle of the box, which will make your image curve. Start by dragging the top and bottom at the middle.
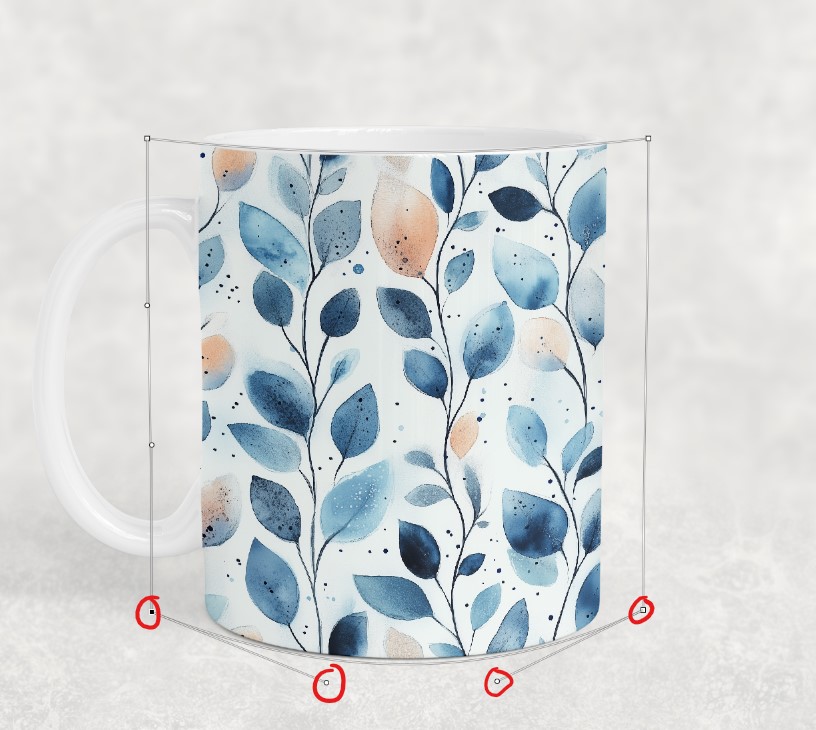
Step 3: Refine the curve by dragging the corners and dragging them up or down as needed to match the curve. You will notice that when you select the corner nodes, you will get an additional handle that you can drag to further refine the curve.
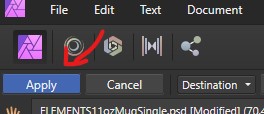
Step 4: When you are happy with the results, click on “Apply” in the upper left corner of your screen.
Tip: If you find that you need more control over the curve, you can double click on the horizontal or vertical edge to create a new line.
How to Adjust Perspective:
If the mockup is at an angle, you may want to adjust the perspective to fit.
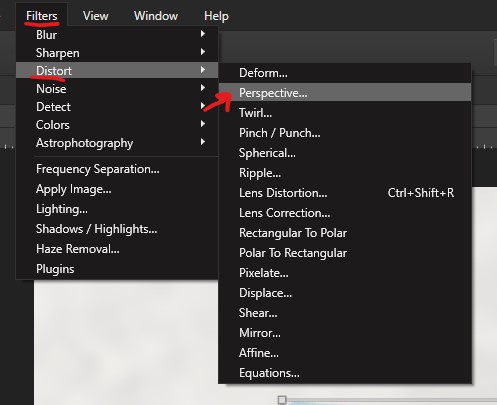
Step 1: After placing your image in, select your image’s layer. Then go to Filters > Distort > Perspective.
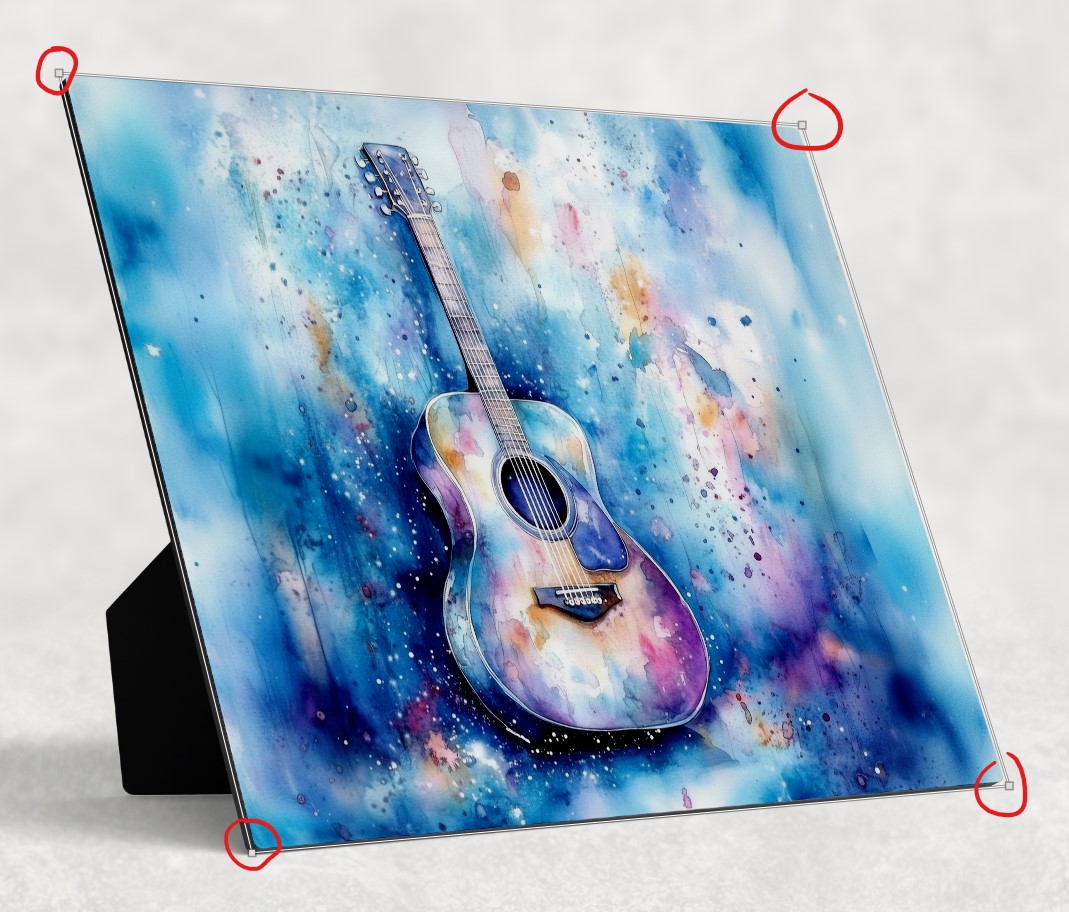
Step 2: Click and drag each corner one at a time until they match the edges of the mockup.
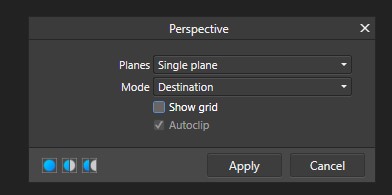
Step 3: Once you are happy with the placement, click on apply inside the “perspective” menu box that popped up when you selected the tool.
How to change colors (hue/saturation):
Tip – In many cases, the color change layers will be turned off by default. Make sure to click the little checkbox next to the layer to turn it on if it isn’t on already.
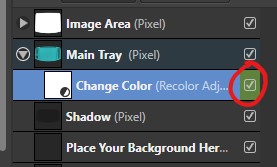
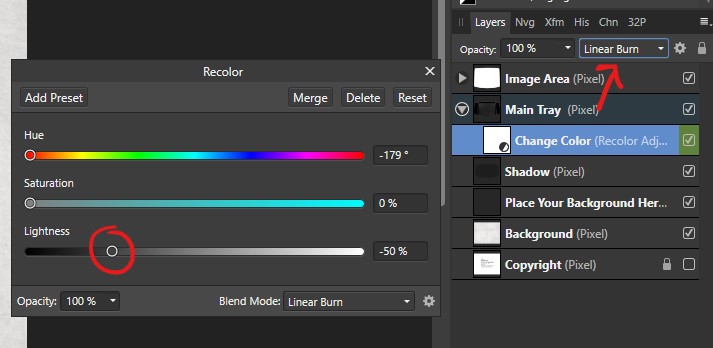
Step 1: Locate the green highlighted layer. If you see an adjustment icon on this layer as shown below, then the steps below are how you change the color. If you do not see this icon, skip to the sections below for Method 2 or 3 of changing the color.
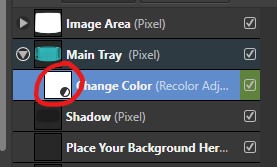
Step 2: When you double click icon area, you should see a “recolor” box pop up.
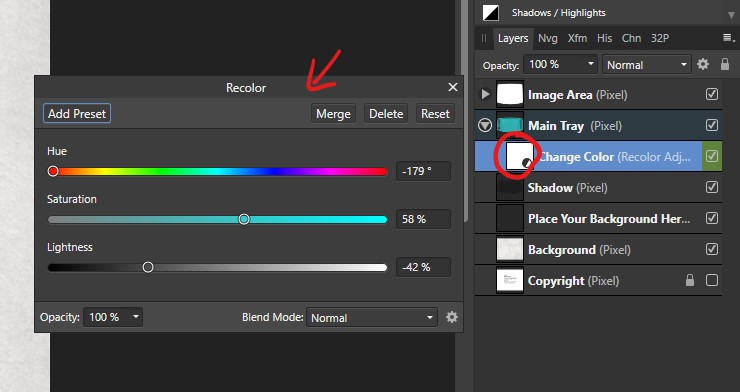
Step 3: Move the sliders around to achieve your desired color. Hue will change the overall color. Saturation will make the color more/less vibrant. Lightness will make it lighter or darker.
Tip: If you need to achieve a dark grey or black without any color in it, drag the saturation slider all the way to the left.
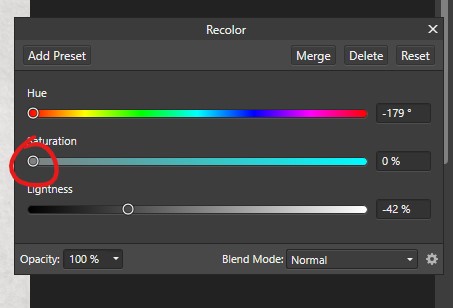
To make it very dark, change the opacity mode of the hue/saturation adjustment layer to “linear burn” or “multiply” and lower the lightness as needed.
How to change colors (fill to change):
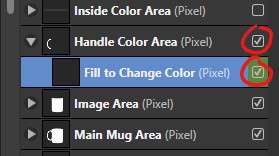
Tip – In many cases, the color change layers will be turned off by default. Make sure to click the little checkbox next to the layer to turn it on if it isn’t on already.
Step 1: Locate the green highlighted layer that says “fill to change color” and select it. Make sure that it and the “color area” layer it is attached to is turned on.
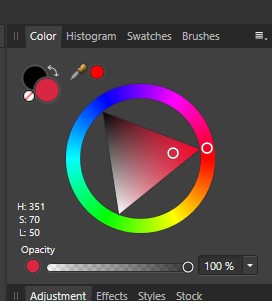
Step 2: Change your color to the color you want to change it to (red in this example).
Step 3: Go to the toolbox on the left-hand side of the screen. Locate and select the paint bucket tool.
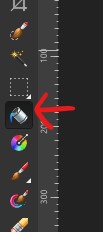
Step 4: With the “fill to change color” layer still selected, click anywhere over top of the image to fill it in with your color.
Tip – Depending on the file and how it is set up, if you are going for a black color, don’t go 100% black. Make it just slightly lighter than a pure black:
How to change colors (Click to change):
Tip – In many cases, the color change layers will be turned off by default. Make sure to click the little checkbox next to the layer to turn it on if it isn’t on already.
Step 1: Select the green highlighted layer and make sure it and the “color area” layers are turned on.
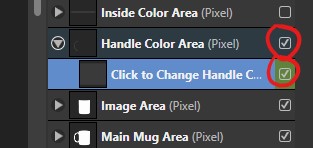
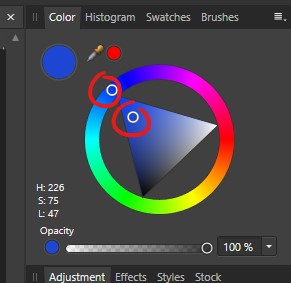
Step 2: With this method, you will just need to move the circles on the color picker to change the color. The color will update as you move around the color picker.
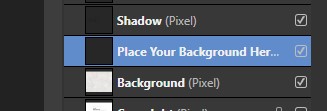
How to add your own background:
Step 1: Locate the layer at the bottom of the layer list that says “Place your background here” and select it.
Step 2: Go to File > Place. Select the background you want and place it in. Resize as needed.